
A lot of this list is single-run conditions that don’t conflict with each other, so you can earn several at once instead of replaying for each. Each plan below is one run. Achievements in a plan are marked with a ⛓ badge further down.
Classic session. Prioritise perfect placements and quests (both add tiles) so the session lasts as long as possible.
- ✓▢Champion I — Gain a highscore of 2500 points.
- ✓▢Champion II — Gain a highscore of 10000 points.
- ✓▢Champion III — Gain a highscore of 15000 points.
- ✓▢Champion IV — Gain a highscore of 20000 points.
- ✓▢Champion V — Gain a highscore of 30000 points.
Nested: a 30,000 highscore passes every lower tier on the way, so chase only Champion V.
In one long session, dedicate a region of the map to each group type and keep each one open and growing: one forest, one village, one field group, one water body and one train line.
- ✓▢Green Thumb I — Form a forest with at least 250 trees.
- ✓▢Green Thumb II — Form a forest with at least 500 trees.
- ✓▢Green Thumb III — Form a forest with at least 750 trees.
- ✓▢Green Thumb IV — Form a forest with at least 1000 trees.
- ✓▢Green Thumb V — Form a forest with at least 1500 trees.
- ✓▢Villager I — Form a village with at least 50 houses.
- ✓▢Villager II — Form a village with at least 100 houses.
- ✓▢Villager III — Form a village with at least 150 houses.
- ✓▢Villager IV — Form a village with at least 250 houses.
- ✓▢Farmer I — Form a field group with at least 25 fields.
- ✓▢Farmer II — Form a field group with at least 50 fields.
- ✓▢Farmer III — Form a field group with at least 100 fields.
- ✓▢Farmer IV — Form a field group with at least 150 fields.
- ✓▢Ocean I — Form a water body with at least 15 water segments.
- ✓▢Ocean II — Form a water body with at least 30 water segments.
- ✓▢Ocean III — Form a water body with at least 60 water segments.
- ✓▢Ocean IV — Form a water body with at least 100 water segments.
- ✓▢Engineer I — Form a train route with at least 10 train tracks.
- ✓▢Engineer II — Form a train route with at least 25 train tracks.
- ✓▢Engineer III — Form a train route with at least 50 train tracks.
- ✓▢Engineer IV — Form a train route with at least 75 train tracks.
Each family nests - one 1,500-tree forest clears all five Green Thumb tiers. The same long session is also your best shot at the Champion highscores, so play it as one run.
Place 250 tiles in a row without any tile touching an incompatible edge. Rotate as much as you like.
- ✓▢Puzzler I — Place 25 consecutive tiles without connecting any incompatible edges.
- ✓▢Puzzler II — Place 50 consecutive tiles without connecting any incompatible edges.
- ✓▢Puzzler III — Place 75 consecutive tiles without connecting any incompatible edges.
- ✓▢Puzzler IV — Place 100 consecutive tiles without connecting any incompatible edges.
- ✓▢Puzzler V — Place 150 consecutive tiles without connecting any incompatible edges.
- ✓▢Puzzler VI — Place 200 consecutive tiles without connecting any incompatible edges.
- ✓▢Puzzler VII — Place 250 consecutive tiles without connecting any incompatible edges.
Nested: one 250-tile streak clears all seven. Do not try this in the same streak as Heavy Weight - rotation is how you avoid mismatches.
Place 250 tiles in a row exactly as they are dealt, never rotating. Mismatched edges are allowed.
- ✓▢Heavy Weight I — Place 25 consecutive tiles without rotating a tile.
- ✓▢Heavy Weight II — Place 50 consecutive tiles without rotating a tile.
- ✓▢Heavy Weight III — Place 75 consecutive tiles without rotating a tile.
- ✓▢Heavy Weight IV — Place 100 consecutive tiles without rotating a tile.
- ✓▢Heavy Weight V — Place 150 consecutive tiles without rotating a tile.
- ✓▢Heavy Weight VI — Place 200 consecutive tiles without rotating a tile.
- ✓▢Heavy Weight VII — Place 250 consecutive tiles without rotating a tile.
Nested: one 250-tile streak clears all seven. Keep a wide open frontier so every tile has somewhere to go without rotating.
Play through the short tutorial from the main menu. Steam's description says it also unlocks a new tile, so do it first before starting a proper session.
This is your best score in ONE session, not a running total, so it rewards long games. The score you reach depends mostly on how long you can keep receiving tiles: perfect placements and completed quests both add tiles to your stack, so prioritise them over raw points. Keep large groups (forest, fields, villages, water) open and growing rather than closing them early, and think a few placements ahead so you are never forced to drop a tile in a bad spot. We have not verified whether every Dorfromantik mode counts toward achievements, so Classic mode is the safe place to work on it.
Counted across every session you play, so it comes with normal play. Longer sessions get there faster than restarting often. Nothing special to do - it will pop alongside the score achievements.
Every water edge that joins the same lake or river counts toward one body, so keep feeding a single water group instead of starting several small ones. Lakes are easier to grow than rivers because they accept water on any side. Leave the body open (unclosed edges) so it can keep growing during the session.
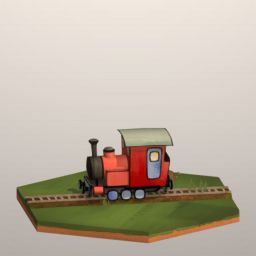
Track pieces have to line up end to end to count as one route, and track is less common than terrain, so plan a long, winding line with room on both ends. Avoid dead-ending the route against the edge of your map or a tile you cannot match.
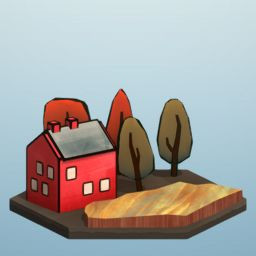
Counted across every session you play, so it comes with normal play. Longer sessions get there faster than restarting often. Nothing special to do - it will pop alongside the score achievements.
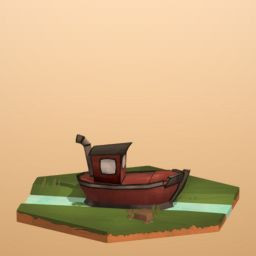
Every water edge that joins the same lake or river counts toward one body, so keep feeding a single water group instead of starting several small ones. Lakes are easier to grow than rivers because they accept water on any side. Leave the body open (unclosed edges) so it can keep growing during the session.
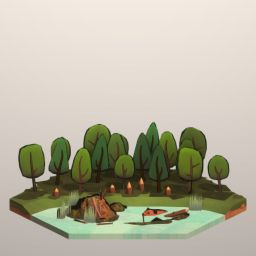
A running total over all sessions. Any session adds to it, so it unlocks naturally while you chase the Champion highscores.
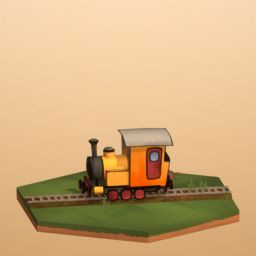
Track pieces have to line up end to end to count as one route, and track is less common than terrain, so plan a long, winding line with room on both ends. Avoid dead-ending the route against the edge of your map or a tile you cannot match.
Counted across every session you play, so it comes with normal play. Longer sessions get there faster than restarting often. Nothing special to do - it will pop alongside the score achievements.
A running total over all sessions. Any session adds to it, so it unlocks naturally while you chase the Champion highscores.
This is your best score in ONE session, not a running total, so it rewards long games. The score you reach depends mostly on how long you can keep receiving tiles: perfect placements and completed quests both add tiles to your stack, so prioritise them over raw points. Keep large groups (forest, fields, villages, water) open and growing rather than closing them early, and think a few placements ahead so you are never forced to drop a tile in a bad spot. We have not verified whether every Dorfromantik mode counts toward achievements, so Classic mode is the safe place to work on it.
Counted across every session you play, so it comes with normal play. Longer sessions get there faster than restarting often. Nothing special to do - it will pop alongside the score achievements.
A session only counts if it ends with at least 5,000 points, which an experienced player clears comfortably. Play full sessions to the end rather than abandoning them; this is the main grind in the list at the higher tiers.
Counted across every session you play, so it comes with normal play. Longer sessions get there faster than restarting often. Nothing special to do - it will pop alongside the score achievements.
A running total over all sessions. Any session adds to it, so it unlocks naturally while you chase the Champion highscores.
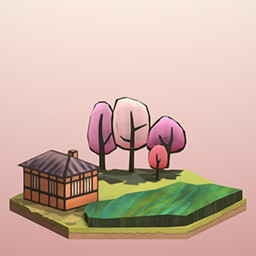
Counted across every session you play, so it comes with normal play. Longer sessions get there faster than restarting often. Nothing special to do - it will pop alongside the score achievements.
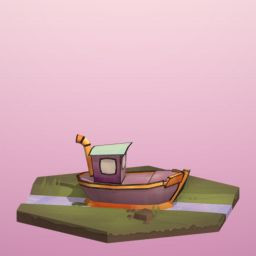
Every water edge that joins the same lake or river counts toward one body, so keep feeding a single water group instead of starting several small ones. Lakes are easier to grow than rivers because they accept water on any side. Leave the body open (unclosed edges) so it can keep growing during the session.
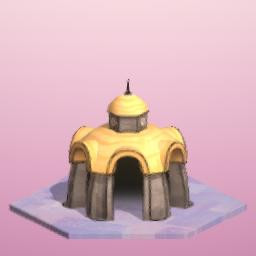
This is your best score in ONE session, not a running total, so it rewards long games. The score you reach depends mostly on how long you can keep receiving tiles: perfect placements and completed quests both add tiles to your stack, so prioritise them over raw points. Keep large groups (forest, fields, villages, water) open and growing rather than closing them early, and think a few placements ahead so you are never forced to drop a tile in a bad spot. We have not verified whether every Dorfromantik mode counts toward achievements, so Classic mode is the safe place to work on it.
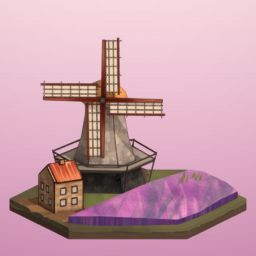
A session only counts if it ends with at least 5,000 points, which an experienced player clears comfortably. Play full sessions to the end rather than abandoning them; this is the main grind in the list at the higher tiers.
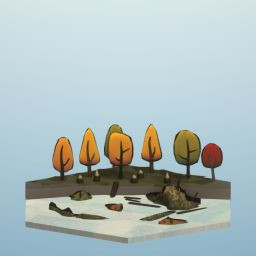
A running total over all sessions. Any session adds to it, so it unlocks naturally while you chase the Champion highscores.
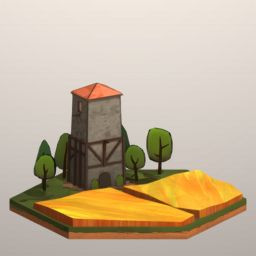
All touching field segments form one group. Pick one area of your map to be the farmland and keep adding to it; separate small patches do not combine. Field quests on new tiles help you grow the group while earning extra tiles.
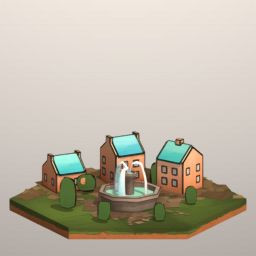
Houses joined together form a single village; the count is houses, so dense village tiles move the number faster than tiles with a single house. Grow one central town and keep its edges open.
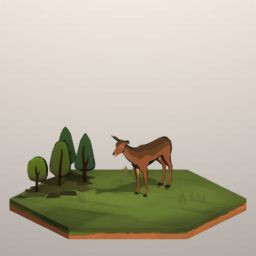
Trees on connected forest edges all count toward one forest. Forest tiles are common, so this is the easiest of the group-size achievements to push high - commit one region of the map to a single sprawling forest and keep extending it.
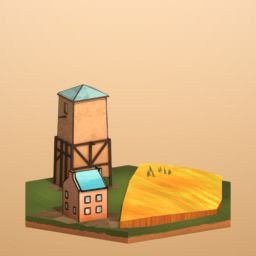
All touching field segments form one group. Pick one area of your map to be the farmland and keep adding to it; separate small patches do not combine. Field quests on new tiles help you grow the group while earning extra tiles.
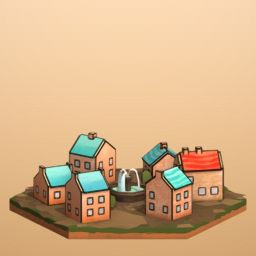
Houses joined together form a single village; the count is houses, so dense village tiles move the number faster than tiles with a single house. Grow one central town and keep its edges open.
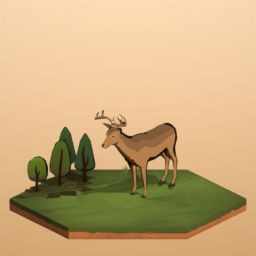
Trees on connected forest edges all count toward one forest. Forest tiles are common, so this is the easiest of the group-size achievements to push high - commit one region of the map to a single sprawling forest and keep extending it.
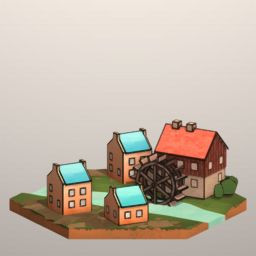
A perfect placement is a tile whose every edge matches the tiles around it. These add up across sessions, and perfect placements also reward you with extra tiles, so you will naturally build this total while playing for score.
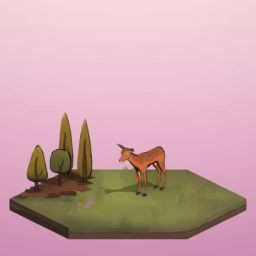
Trees on connected forest edges all count toward one forest. Forest tiles are common, so this is the easiest of the group-size achievements to push high - commit one region of the map to a single sprawling forest and keep extending it.
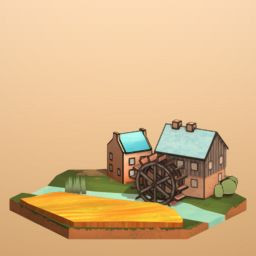
A perfect placement is a tile whose every edge matches the tiles around it. These add up across sessions, and perfect placements also reward you with extra tiles, so you will naturally build this total while playing for score.
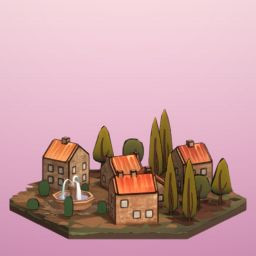
Houses joined together form a single village; the count is houses, so dense village tiles move the number faster than tiles with a single house. Grow one central town and keep its edges open.
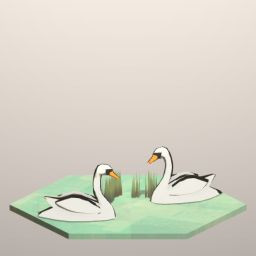
One placement scores for its matched edges and for any quests it completes, so the big single-placement numbers come from dropping a tile that matches on many sides AND finishes one or more quests at once. Set this up deliberately: leave a hole that several quest groups border, then fill it with a fitting tile.
One placement scores for its matched edges and for any quests it completes, so the big single-placement numbers come from dropping a tile that matches on many sides AND finishes one or more quests at once. Set this up deliberately: leave a hole that several quest groups border, then fill it with a fitting tile.
Steam's wording suggests one tile completing perfect placements for several tiles at the same time - i.e. filling a gap so that the new tile and its neighbours all become perfectly matched together. Build pockets with one open slot surrounded by tiles that are each one edge short of perfect, then fill the slot with a tile that matches all of them. We have not verified exactly how the game counts the simultaneous placements.
Closing a group means surrounding it so it has no open edges left. Build compact field groups of at least ten fields and then cap them. Steam's wording ('with at least 10 fields in total') is ambiguous between each closed group needing 10 fields and the fields adding up, so the safe approach is to make each group 10+ before closing it. The count carries across sessions.
Quests appear on new tiles and ask you to grow a group to a target size. Completing them also gives you more tiles, so they are worth doing anyway. The total builds up across every session.
Quests appear on new tiles and ask you to grow a group to a target size. Completing them also gives you more tiles, so they are worth doing anyway. The total builds up across every session.
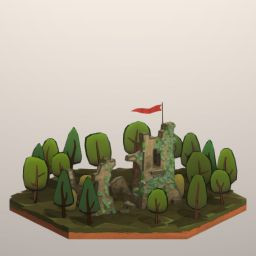
Preplaced tiles are the special tiles already sitting on the map when a session begins. Connect your landscape to them as you expand - the count is a running total across sessions.
Trees on connected forest edges all count toward one forest. Forest tiles are common, so this is the easiest of the group-size achievements to push high - commit one region of the map to a single sprawling forest and keep extending it.
Steam's wording suggests one tile completing perfect placements for several tiles at the same time - i.e. filling a gap so that the new tile and its neighbours all become perfectly matched together. Build pockets with one open slot surrounded by tiles that are each one edge short of perfect, then fill the slot with a tile that matches all of them. We have not verified exactly how the game counts the simultaneous placements.
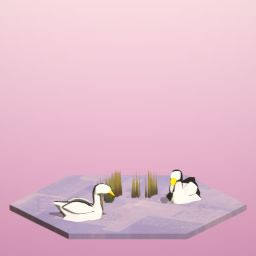
One placement scores for its matched edges and for any quests it completes, so the big single-placement numbers come from dropping a tile that matches on many sides AND finishes one or more quests at once. Set this up deliberately: leave a hole that several quest groups border, then fill it with a fitting tile.
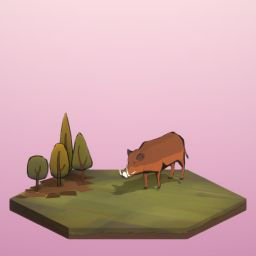
Quests appear on new tiles and ask you to grow a group to a target size. Completing them also gives you more tiles, so they are worth doing anyway. The total builds up across every session.
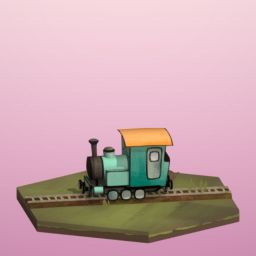
Track pieces have to line up end to end to count as one route, and track is less common than terrain, so plan a long, winding line with room on both ends. Avoid dead-ending the route against the edge of your map or a tile you cannot match.
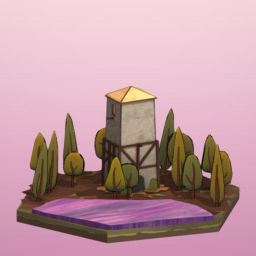
All touching field segments form one group. Pick one area of your map to be the farmland and keep adding to it; separate small patches do not combine. Field quests on new tiles help you grow the group while earning extra tiles.
This is your best score in ONE session, not a running total, so it rewards long games. The score you reach depends mostly on how long you can keep receiving tiles: perfect placements and completed quests both add tiles to your stack, so prioritise them over raw points. Keep large groups (forest, fields, villages, water) open and growing rather than closing them early, and think a few placements ahead so you are never forced to drop a tile in a bad spot. We have not verified whether every Dorfromantik mode counts toward achievements, so Classic mode is the safe place to work on it.
Every tile you place must avoid touching any incompatible edge; one mismatch resets the streak. Rotate freely and only place where a tile genuinely fits. If a tile has no clean spot, look for an empty area where it borders nothing incompatible - an edge next to empty space does not break the streak. We have not verified whether every Dorfromantik mode counts toward achievements, so Classic mode is the safe place to work on it.
A perfect placement is a tile whose every edge matches the tiles around it. These add up across sessions, and perfect placements also reward you with extra tiles, so you will naturally build this total while playing for score.
Steam's wording suggests one tile completing perfect placements for several tiles at the same time - i.e. filling a gap so that the new tile and its neighbours all become perfectly matched together. Build pockets with one open slot surrounded by tiles that are each one edge short of perfect, then fill the slot with a tile that matches all of them. We have not verified exactly how the game counts the simultaneous placements.
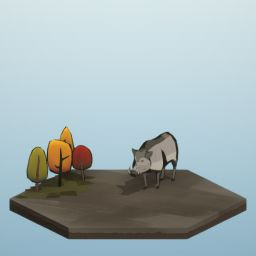
Quests appear on new tiles and ask you to grow a group to a target size. Completing them also gives you more tiles, so they are worth doing anyway. The total builds up across every session.
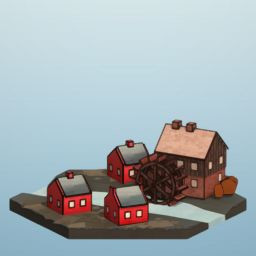
A perfect placement is a tile whose every edge matches the tiles around it. These add up across sessions, and perfect placements also reward you with extra tiles, so you will naturally build this total while playing for score.
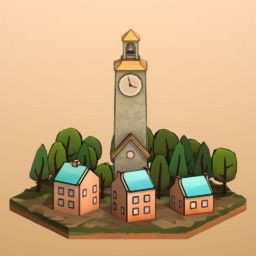
Every tile you place must avoid touching any incompatible edge; one mismatch resets the streak. Rotate freely and only place where a tile genuinely fits. If a tile has no clean spot, look for an empty area where it borders nothing incompatible - an edge next to empty space does not break the streak. We have not verified whether every Dorfromantik mode counts toward achievements, so Classic mode is the safe place to work on it.
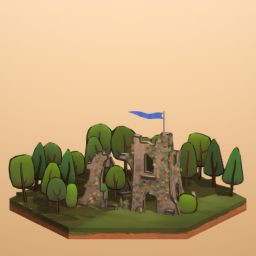
Preplaced tiles are the special tiles already sitting on the map when a session begins. Connect your landscape to them as you expand - the count is a running total across sessions.
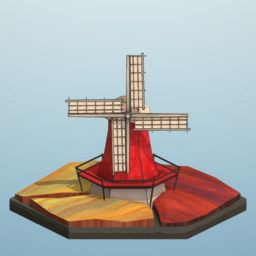
A session only counts if it ends with at least 5,000 points, which an experienced player clears comfortably. Play full sessions to the end rather than abandoning them; this is the main grind in the list at the higher tiers.
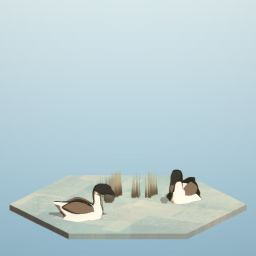
One placement scores for its matched edges and for any quests it completes, so the big single-placement numbers come from dropping a tile that matches on many sides AND finishes one or more quests at once. Set this up deliberately: leave a hole that several quest groups border, then fill it with a fitting tile.
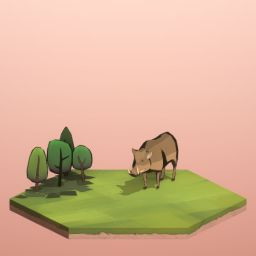
Quests appear on new tiles and ask you to grow a group to a target size. Completing them also gives you more tiles, so they are worth doing anyway. The total builds up across every session.
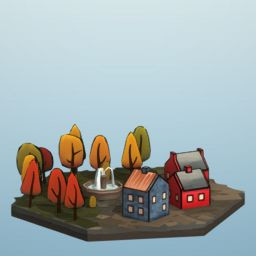
Houses joined together form a single village; the count is houses, so dense village tiles move the number faster than tiles with a single house. Grow one central town and keep its edges open.
Closing a group means surrounding it so it has no open edges left. Build compact field groups of at least ten fields and then cap them. Steam's wording ('with at least 10 fields in total') is ambiguous between each closed group needing 10 fields and the fields adding up, so the safe approach is to make each group 10+ before closing it. The count carries across sessions.
Steam's wording suggests one tile completing perfect placements for several tiles at the same time - i.e. filling a gap so that the new tile and its neighbours all become perfectly matched together. Build pockets with one open slot surrounded by tiles that are each one edge short of perfect, then fill the slot with a tile that matches all of them. We have not verified exactly how the game counts the simultaneous placements.
Every tile you place must avoid touching any incompatible edge; one mismatch resets the streak. Rotate freely and only place where a tile genuinely fits. If a tile has no clean spot, look for an empty area where it borders nothing incompatible - an edge next to empty space does not break the streak. We have not verified whether every Dorfromantik mode counts toward achievements, so Classic mode is the safe place to work on it.
Place each tile in the orientation it arrives in - one rotation breaks the streak. You still choose WHERE it goes, so keep plenty of open frontier so there is always a spot that suits the tile as dealt. Mismatched edges do not break this one, so take the occasional bad placement rather than rotating.
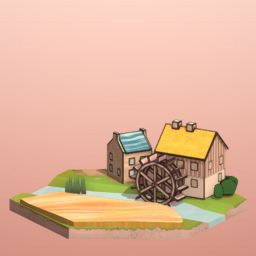
A perfect placement is a tile whose every edge matches the tiles around it. These add up across sessions, and perfect placements also reward you with extra tiles, so you will naturally build this total while playing for score.
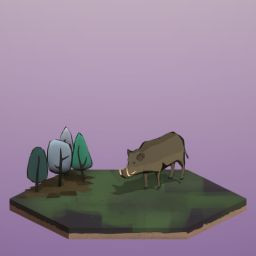
Quests appear on new tiles and ask you to grow a group to a target size. Completing them also gives you more tiles, so they are worth doing anyway. The total builds up across every session.
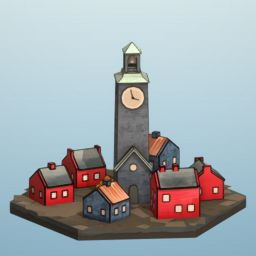
Every tile you place must avoid touching any incompatible edge; one mismatch resets the streak. Rotate freely and only place where a tile genuinely fits. If a tile has no clean spot, look for an empty area where it borders nothing incompatible - an edge next to empty space does not break the streak. We have not verified whether every Dorfromantik mode counts toward achievements, so Classic mode is the safe place to work on it.
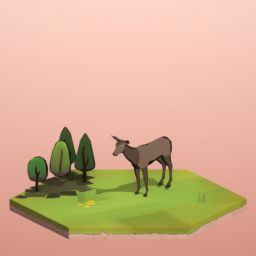
Trees on connected forest edges all count toward one forest. Forest tiles are common, so this is the easiest of the group-size achievements to push high - commit one region of the map to a single sprawling forest and keep extending it.
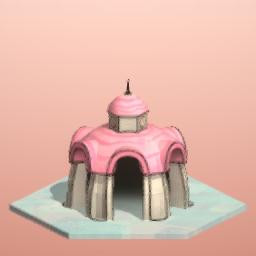
This is your best score in ONE session, not a running total, so it rewards long games. The score you reach depends mostly on how long you can keep receiving tiles: perfect placements and completed quests both add tiles to your stack, so prioritise them over raw points. Keep large groups (forest, fields, villages, water) open and growing rather than closing them early, and think a few placements ahead so you are never forced to drop a tile in a bad spot. We have not verified whether every Dorfromantik mode counts toward achievements, so Classic mode is the safe place to work on it.
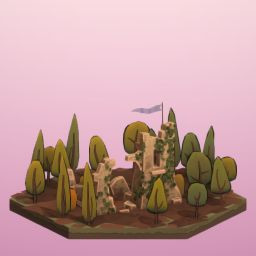
Preplaced tiles are the special tiles already sitting on the map when a session begins. Connect your landscape to them as you expand - the count is a running total across sessions.
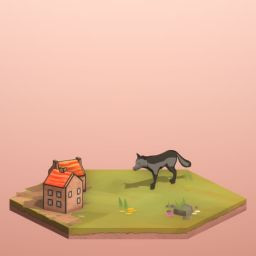
Steam's wording suggests one tile completing perfect placements for several tiles at the same time - i.e. filling a gap so that the new tile and its neighbours all become perfectly matched together. Build pockets with one open slot surrounded by tiles that are each one edge short of perfect, then fill the slot with a tile that matches all of them. We have not verified exactly how the game counts the simultaneous placements.
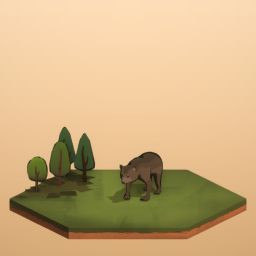
Place each tile in the orientation it arrives in - one rotation breaks the streak. You still choose WHERE it goes, so keep plenty of open frontier so there is always a spot that suits the tile as dealt. Mismatched edges do not break this one, so take the occasional bad placement rather than rotating.
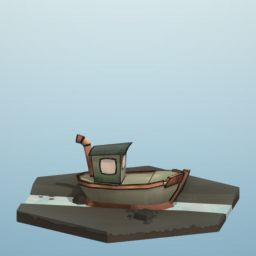
Every water edge that joins the same lake or river counts toward one body, so keep feeding a single water group instead of starting several small ones. Lakes are easier to grow than rivers because they accept water on any side. Leave the body open (unclosed edges) so it can keep growing during the session.
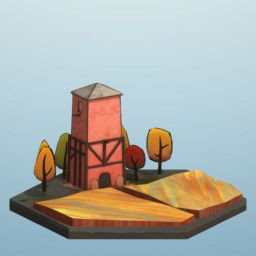
All touching field segments form one group. Pick one area of your map to be the farmland and keep adding to it; separate small patches do not combine. Field quests on new tiles help you grow the group while earning extra tiles.
Place each tile in the orientation it arrives in - one rotation breaks the streak. You still choose WHERE it goes, so keep plenty of open frontier so there is always a spot that suits the tile as dealt. Mismatched edges do not break this one, so take the occasional bad placement rather than rotating.
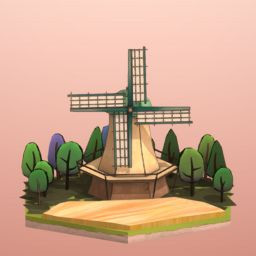
A session only counts if it ends with at least 5,000 points, which an experienced player clears comfortably. Play full sessions to the end rather than abandoning them; this is the main grind in the list at the higher tiers.
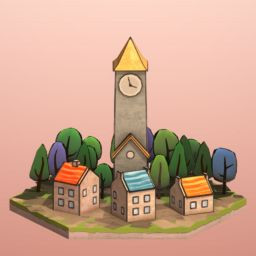
Every tile you place must avoid touching any incompatible edge; one mismatch resets the streak. Rotate freely and only place where a tile genuinely fits. If a tile has no clean spot, look for an empty area where it borders nothing incompatible - an edge next to empty space does not break the streak. We have not verified whether every Dorfromantik mode counts toward achievements, so Classic mode is the safe place to work on it.
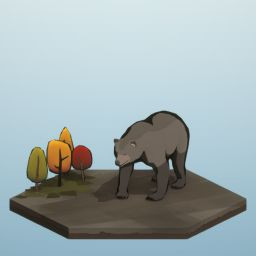
Place each tile in the orientation it arrives in - one rotation breaks the streak. You still choose WHERE it goes, so keep plenty of open frontier so there is always a spot that suits the tile as dealt. Mismatched edges do not break this one, so take the occasional bad placement rather than rotating.
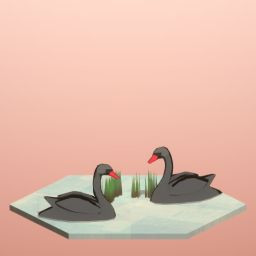
One placement scores for its matched edges and for any quests it completes, so the big single-placement numbers come from dropping a tile that matches on many sides AND finishes one or more quests at once. Set this up deliberately: leave a hole that several quest groups border, then fill it with a fitting tile.
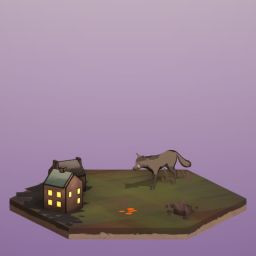
Steam's wording suggests one tile completing perfect placements for several tiles at the same time - i.e. filling a gap so that the new tile and its neighbours all become perfectly matched together. Build pockets with one open slot surrounded by tiles that are each one edge short of perfect, then fill the slot with a tile that matches all of them. We have not verified exactly how the game counts the simultaneous placements.
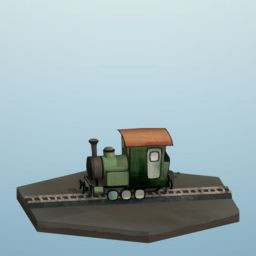
Track pieces have to line up end to end to count as one route, and track is less common than terrain, so plan a long, winding line with room on both ends. Avoid dead-ending the route against the edge of your map or a tile you cannot match.
Closing a group means surrounding it so it has no open edges left. Build compact field groups of at least ten fields and then cap them. Steam's wording ('with at least 10 fields in total') is ambiguous between each closed group needing 10 fields and the fields adding up, so the safe approach is to make each group 10+ before closing it. The count carries across sessions.
Place each tile in the orientation it arrives in - one rotation breaks the streak. You still choose WHERE it goes, so keep plenty of open frontier so there is always a spot that suits the tile as dealt. Mismatched edges do not break this one, so take the occasional bad placement rather than rotating.
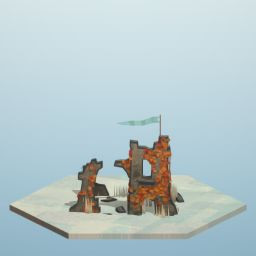
Preplaced tiles are the special tiles already sitting on the map when a session begins. Connect your landscape to them as you expand - the count is a running total across sessions.
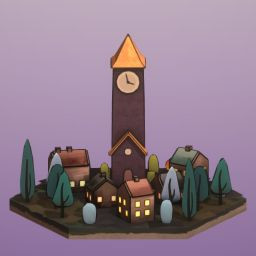
Every tile you place must avoid touching any incompatible edge; one mismatch resets the streak. Rotate freely and only place where a tile genuinely fits. If a tile has no clean spot, look for an empty area where it borders nothing incompatible - an edge next to empty space does not break the streak. We have not verified whether every Dorfromantik mode counts toward achievements, so Classic mode is the safe place to work on it.
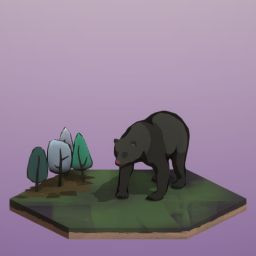
Place each tile in the orientation it arrives in - one rotation breaks the streak. You still choose WHERE it goes, so keep plenty of open frontier so there is always a spot that suits the tile as dealt. Mismatched edges do not break this one, so take the occasional bad placement rather than rotating.
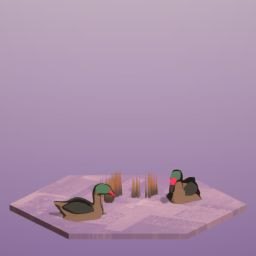
One placement scores for its matched edges and for any quests it completes, so the big single-placement numbers come from dropping a tile that matches on many sides AND finishes one or more quests at once. Set this up deliberately: leave a hole that several quest groups border, then fill it with a fitting tile.

Every tile you place must avoid touching any incompatible edge; one mismatch resets the streak. Rotate freely and only place where a tile genuinely fits. If a tile has no clean spot, look for an empty area where it borders nothing incompatible - an edge next to empty space does not break the streak. We have not verified whether every Dorfromantik mode counts toward achievements, so Classic mode is the safe place to work on it.
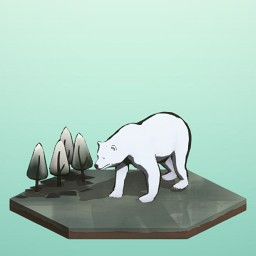
Place each tile in the orientation it arrives in - one rotation breaks the streak. You still choose WHERE it goes, so keep plenty of open frontier so there is always a spot that suits the tile as dealt. Mismatched edges do not break this one, so take the occasional bad placement rather than rotating.